Appendix D: Miro Tutorial
Contents
Appendix D: Miro Tutorial
Miro is an online collaborative whiteboard platform that can be useful to you in SWEN90009. In this tutorial, we will first help you set up an account. Then, we discuss how Miro can be useful for some tasks in SWEN90009.
Set Up
Sign up for free on Miro website.
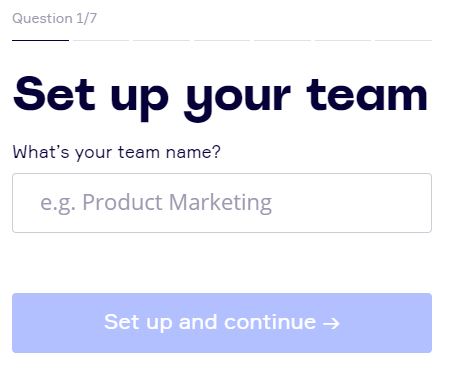
Once you have signed up, Miro will let you set up your team. (Note: If you use your university student email address to sign up, you might notice that there are some teams that you can join in your organisation already - but that’s not what we need. In this subject, you will need to create your own project team. )
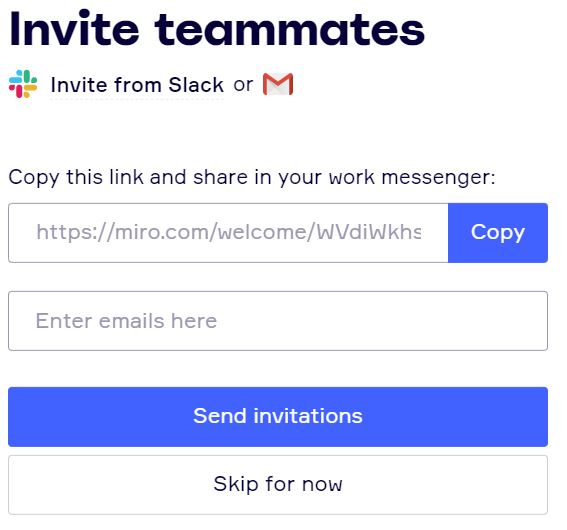
Invite your team members.
Tips Before you Start
Number of Editable Boards
For a free account, your team only has 3 editable boards. Once you create more than 3 boards, only the 3 most recently created ones are editable.
How to make sure that you do not run out of boards? You can draw multiple diagrams on one board, and put each diagram inside a frame.
Template
Miro has a library of templates to help you get started with your task. There are two main ways to explore and add templates:
Option 1: On your Miro main page, you should see a list of templates suggestions. Click on a template to create a new board with the chosen template, or select “Show all templates” to explore more templates options.

Option 2: Open a board you have already created, and add a new template in.
Frame
Frame can help you organise your board, especially if you run out of boards and decide to put multiple diagrams in one board. Also, if you want to export your board to a PDF, it is essential that you put content inside a frame (each frame will be a single page on the PDF).
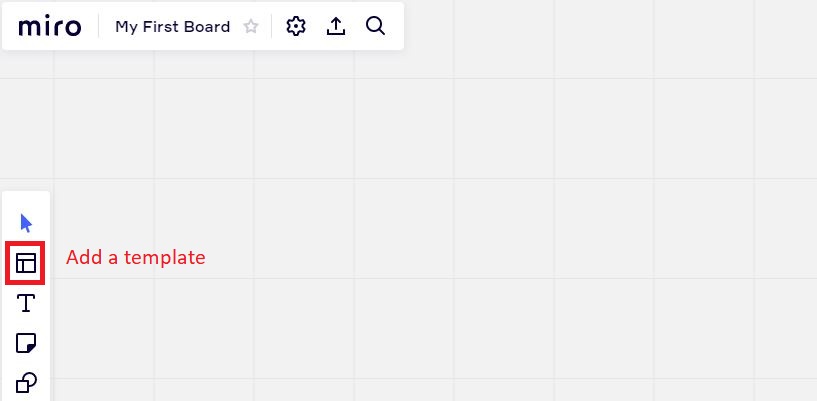
How to add a frame:
On the tool bar, select the frame icon (marked in red).
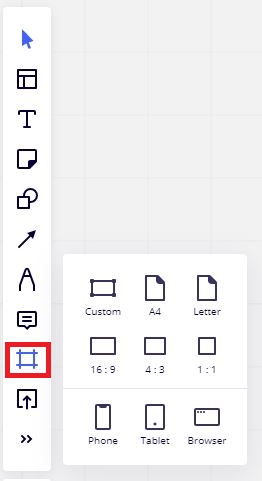
Then, you can select the desired frame dimention. In this example, let us select “custom”.
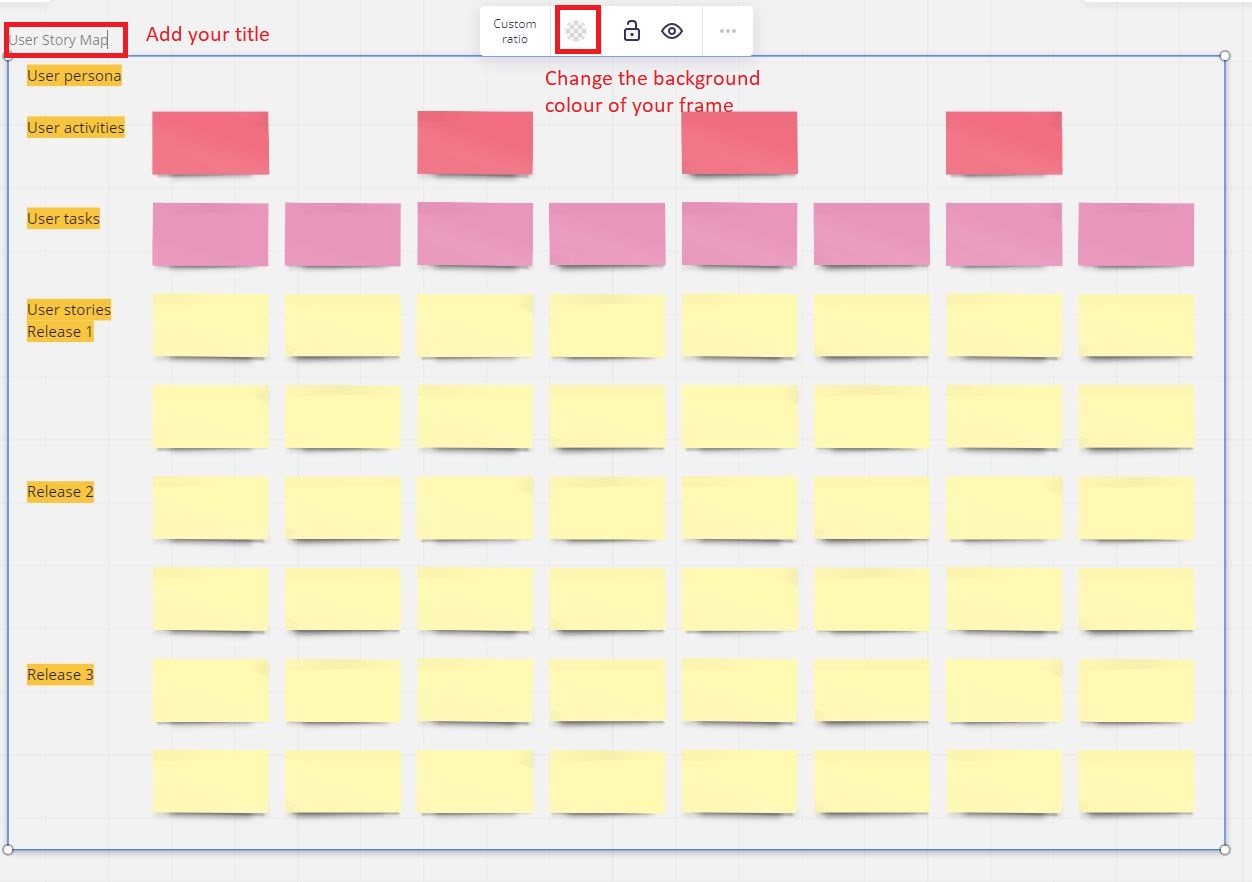
Ajust the size of the frame so that your artefact is completely covered in the frame, as shown in the image below. You can give this frame a title, and change the background colour of your frame.
Use Miro
Miro allows you and your team to interact and collaborate on this platform. We strongly encourage you to use that to your advantage. Brainstorming and Sprint Retrospective meeting are two great examples that you can use Miro to have interactive team meetings.
Miro has a lot of templates at your disposal. In addition to brainstorming and retrospective meeting, check out the one for User Story Map.
Miro for Brainstorming
Let’s walk through an example. Let’s say you are designing an application that will help students decide which subject to take in the future.
Write down the question that needs to be solved on your board. You can add it as text.
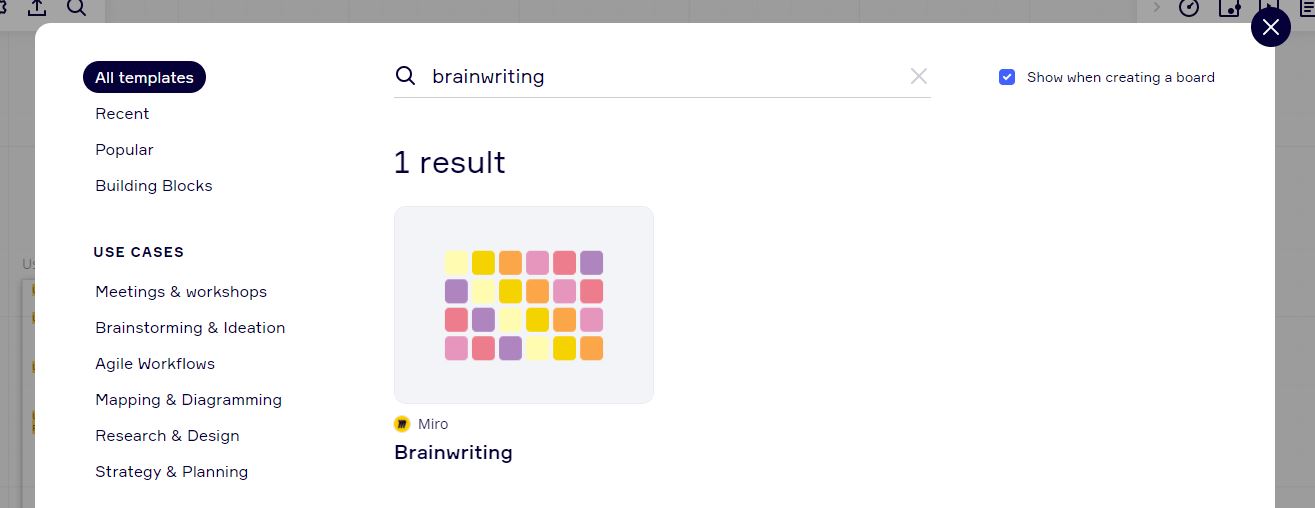
Add the “Brainwriting” template to your board. Check out the Template section on how to add a template on a board.
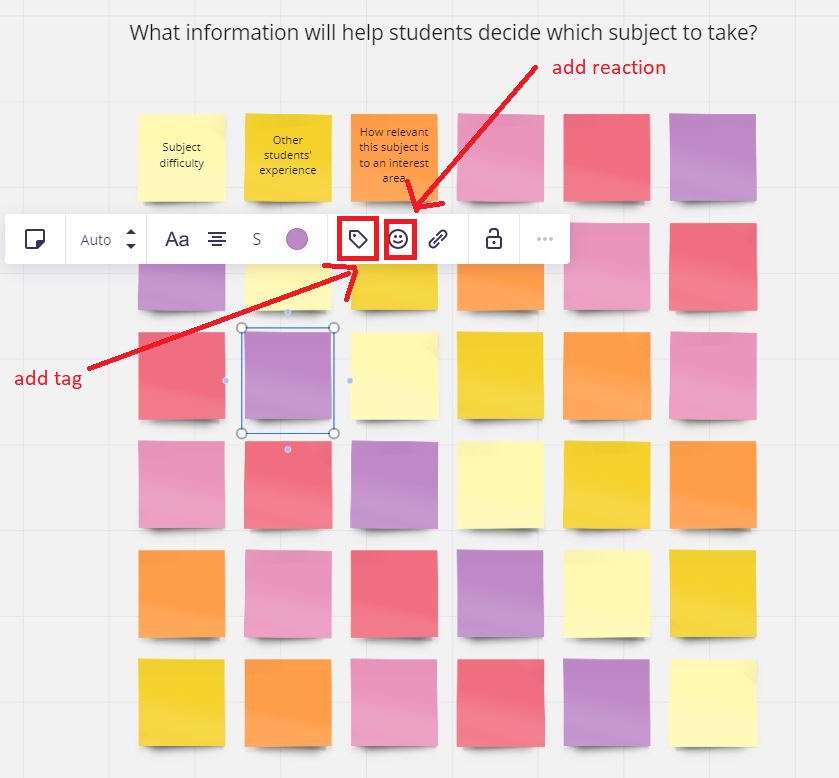
You will find that the sticky notes are already created for you, ready to be filled in. Here are some tips for you:
You can use tag to help you organise your ideas into categories.
You can add reaction to ideas
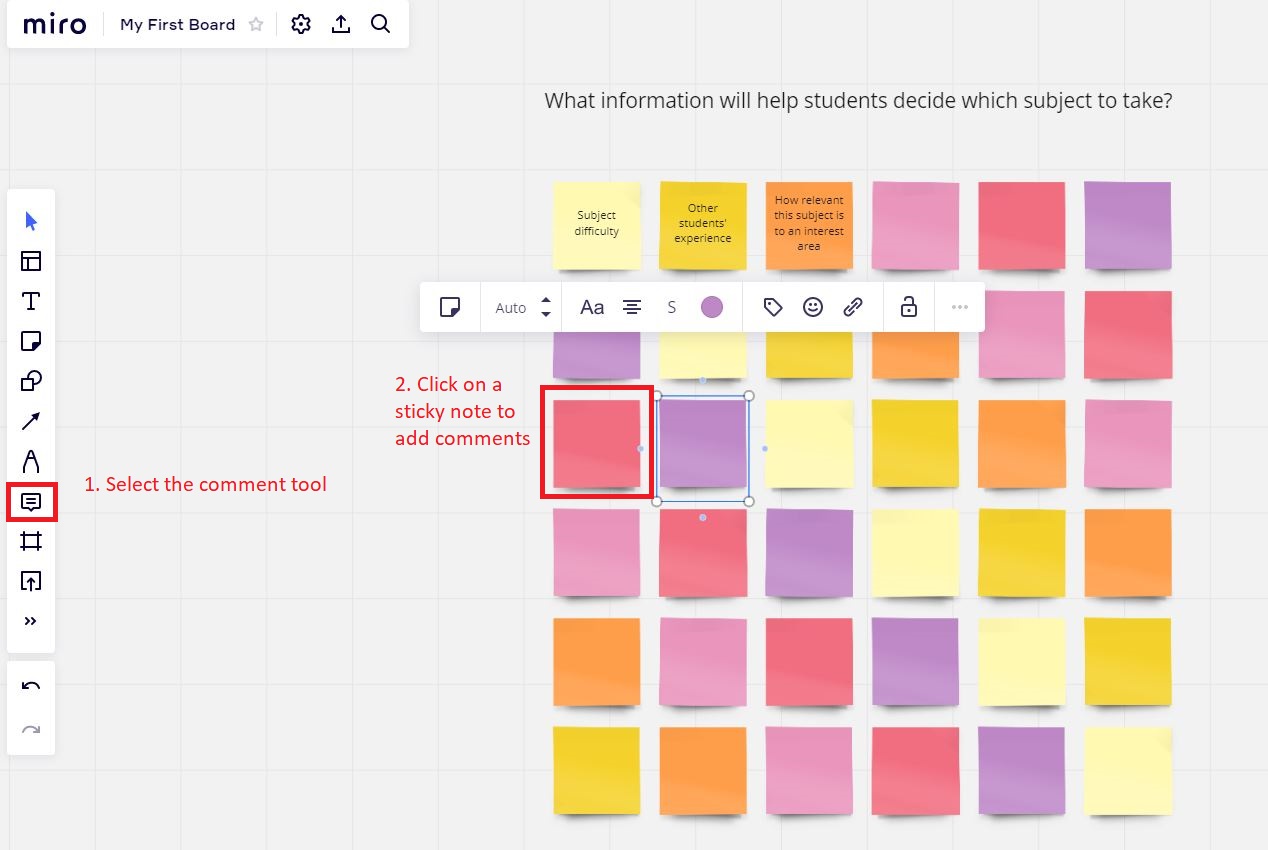
You can also add comments on the ideas
Select the comment tool in the tool bar
Click on one of the sticky notes, and start adding comments
You don’t have to start with any template. Feel free to start with an empty board and create sticky notes as you run the brainstorm session.
Miro for Sprint Retrospective
Miro has lots of templates for Retrospective meeting. Search for “retrospective” in their template pool and select the one that suits your team the best. Retrospective Start/Stop/Continue is a template that we would recommend.
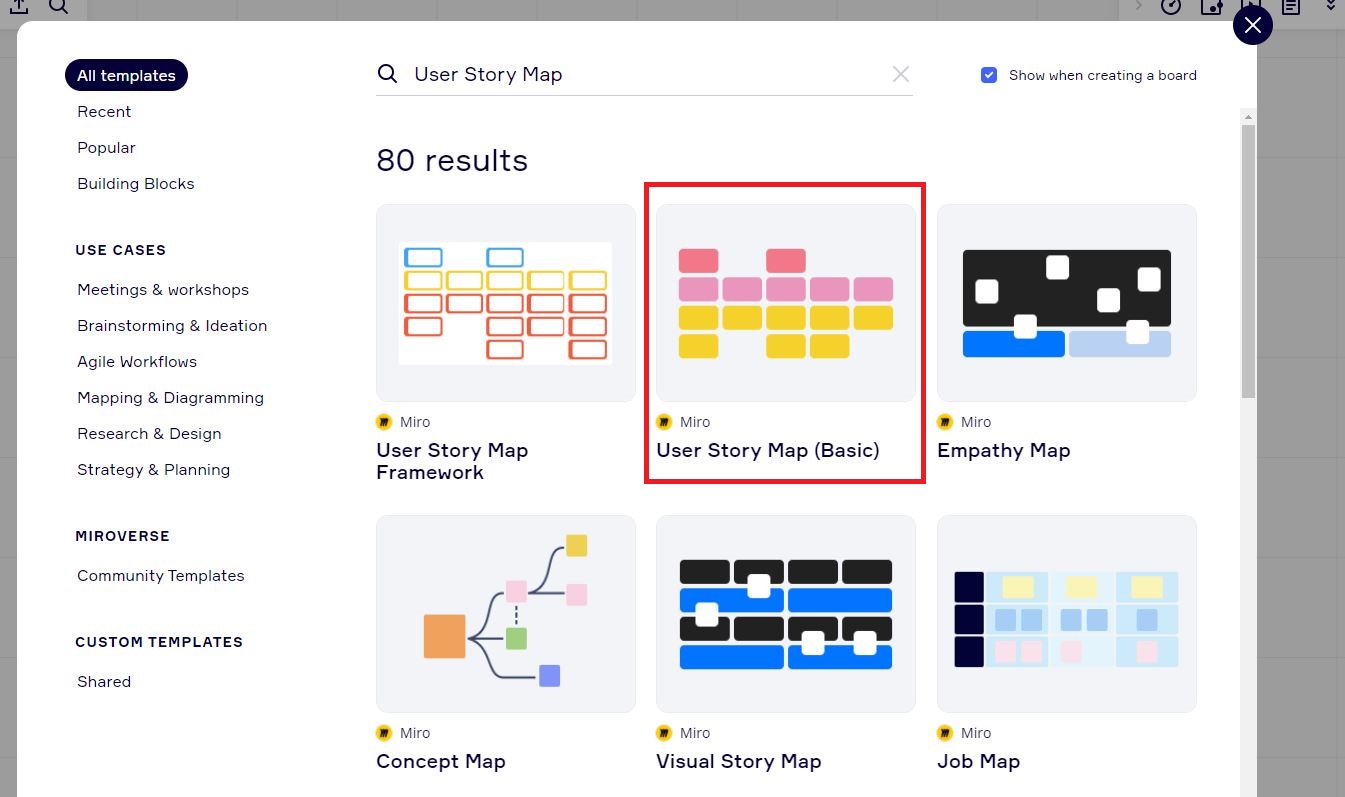
Miro for User Story Map
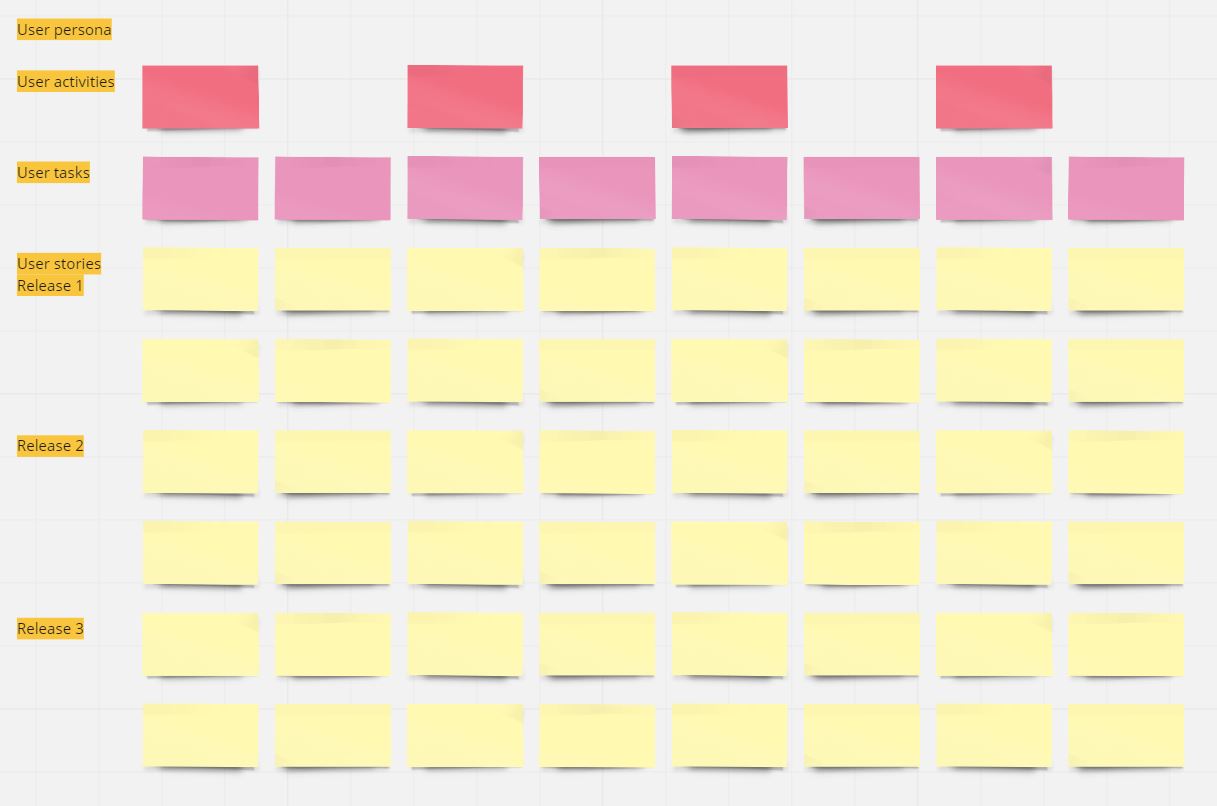
Miro has two templates for User Story Map. Feel free to choose one and add it to your board. In this example, we will select the basic one.
Fill in the template and export your diagram.
Export
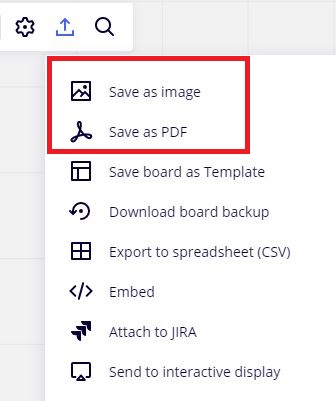
There are two main ways to export your diagrams: export as an image or PDF.
Click the Export option at the top of your board.

Either export as an image or PDF. If you want to export it as a PDF, make sure you add a frame.
Extra Resources
There are so much more you can explore with Miro! For more tutorials and help, feel free to check out their website.